BeatBox is my recreation of the arcade rhythm game Jubeat so that I can play it at home, as there aren’t any arcades around in Stockholm where I can play it. I also don’t have space in my apartment for a full-size arcade cabinet.
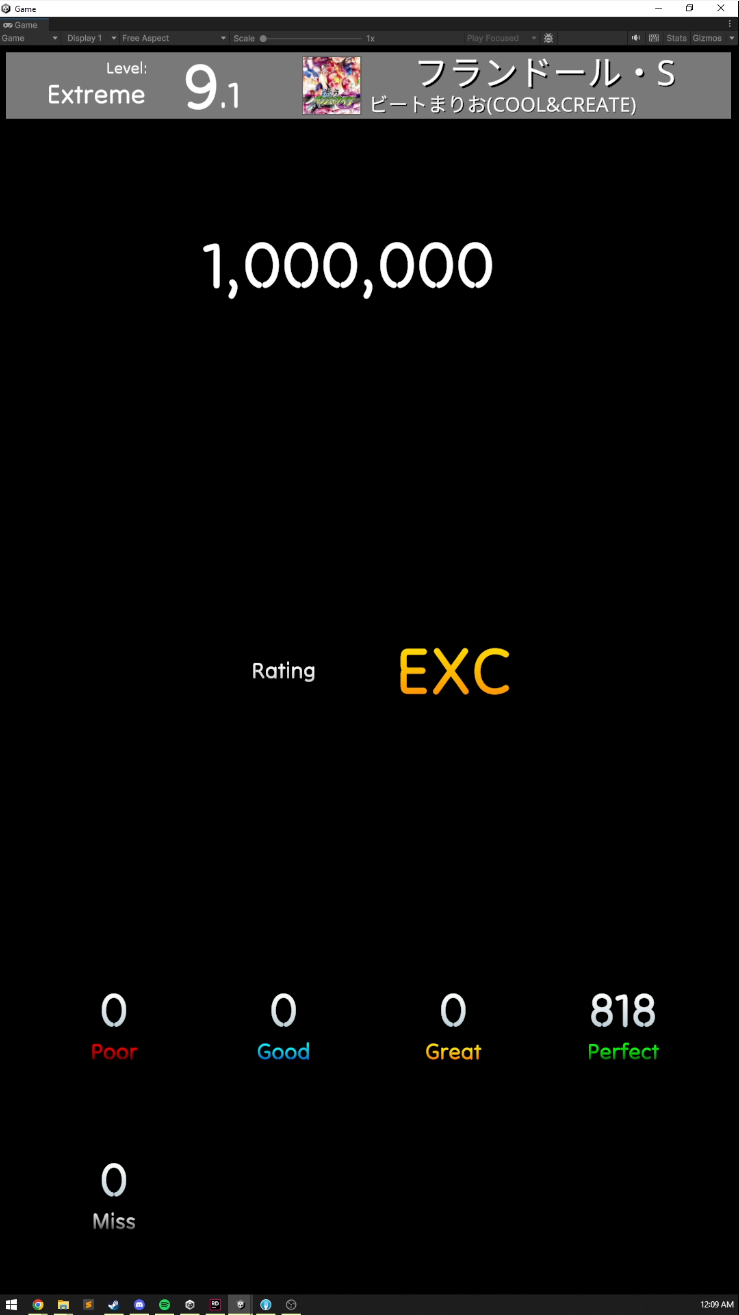
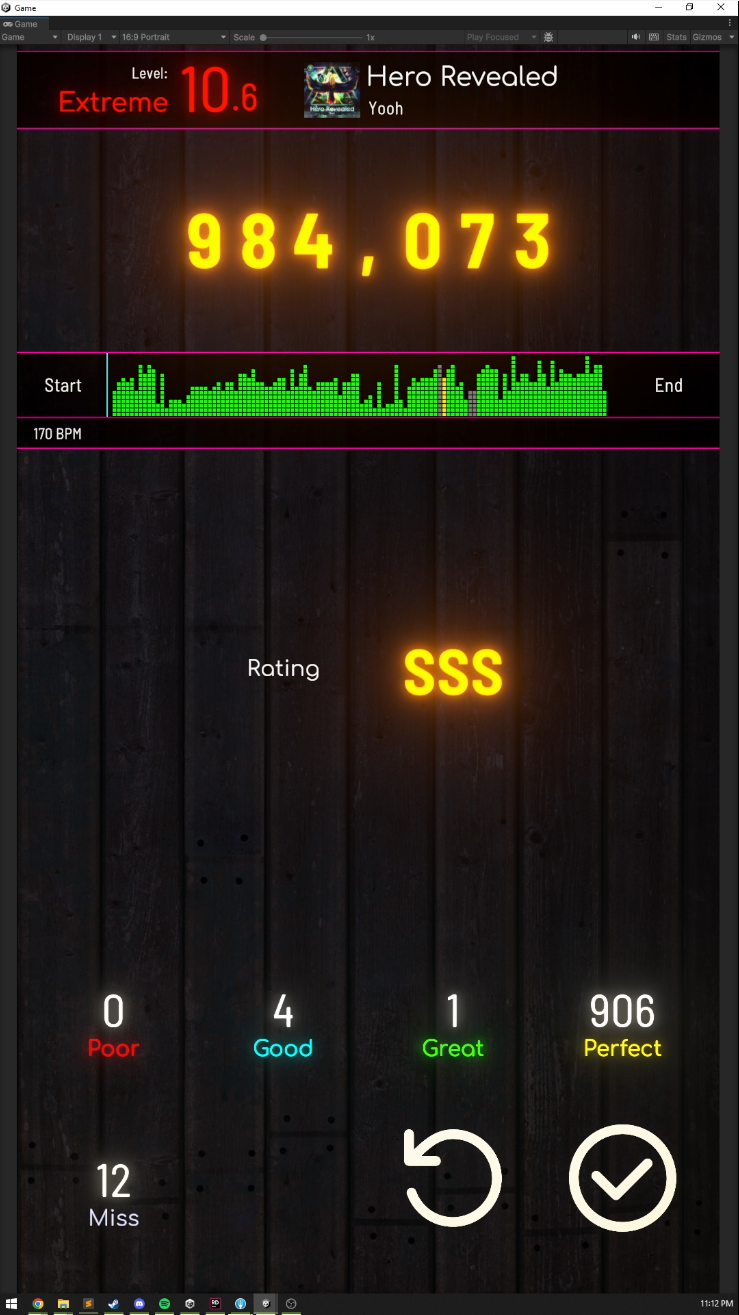
Here’s a demo of what it looks like, with me playing very badly on it.
The software is made in Unity and runs properly on Windows, Mac, and Linux as I’ve tested it on 3 different devices trying to find a place to set it up at home. The hardware was all custom designed in Fusion, and the custom PCB for the controller was designed in KiCad.
The Game Software
The game part of BeatBox is made in Unity, since that’s what I use all the time and in my day to day work.
I’d played Jubeat at an arcade previously so I knew generally how the game worked, as well as how to navigate around the menus. The idea I had was to recreate the basic gameplay as close as possible so that I can still play properly when I come across it in arcades if I’m travelling, but to not bother with recreating the same grid based menu that the original game uses so that I could make the menus quicker and get the project to an MVP state faster.
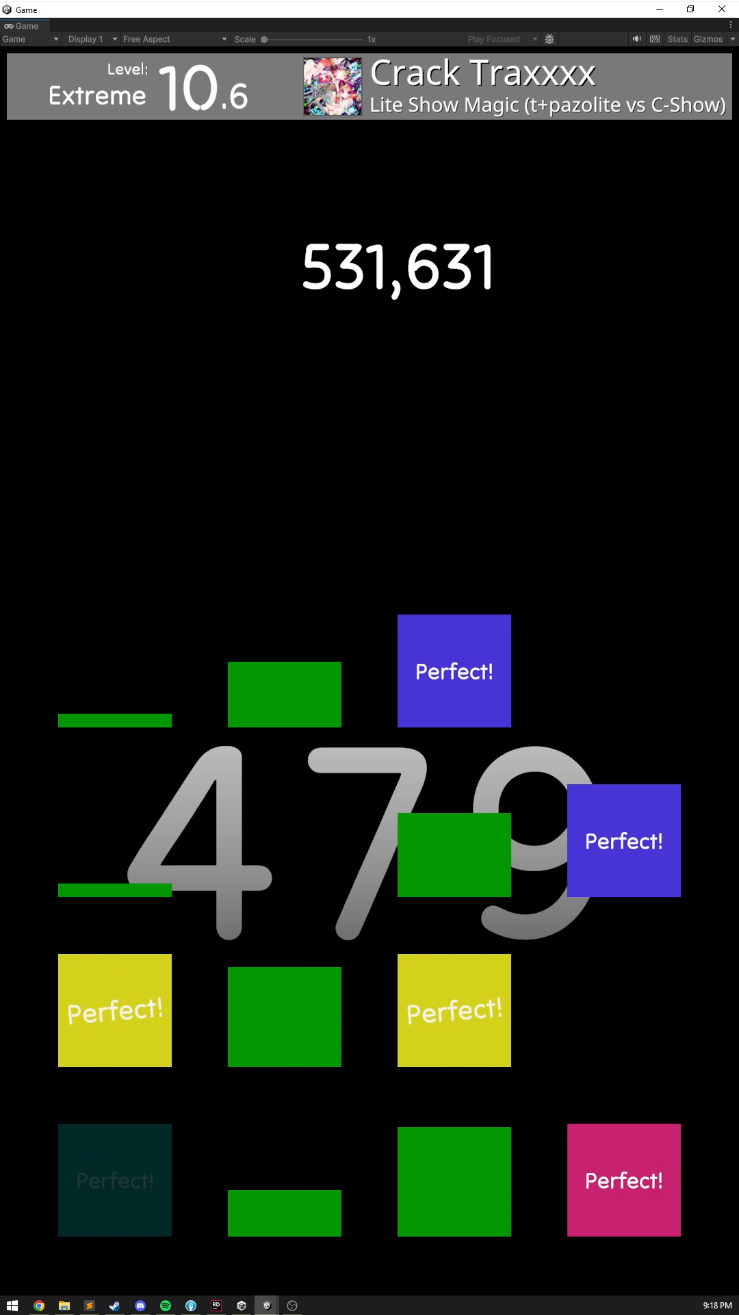
The core gameplay consists of two types of note, tap and hold notes, played on a 4×4 interface made up of physical buttons that display the note on the button. Read the Hardware section further down for more info on those. These were all mapped to keyboard buttons for the game input as I wanted a physical controller rather than playing on a touch screen.
The core gameplay was easy enough to set up with the two note types and a map of the note timings for the song. The note timings (the chart) and the audio file were loaded at runtime from disk rather than being included in the Unity project. I’m not gonna do a technical write up on that here, but maybe in the future I’ll write up more and link them.
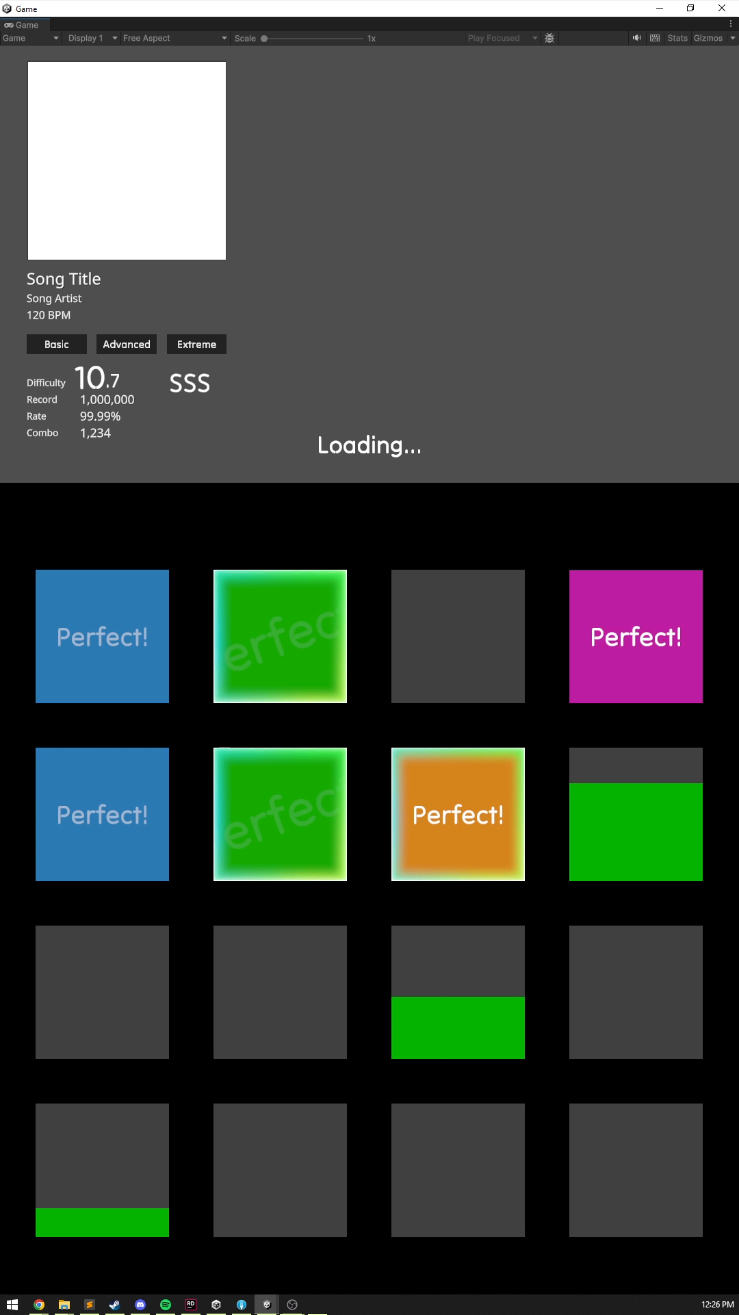

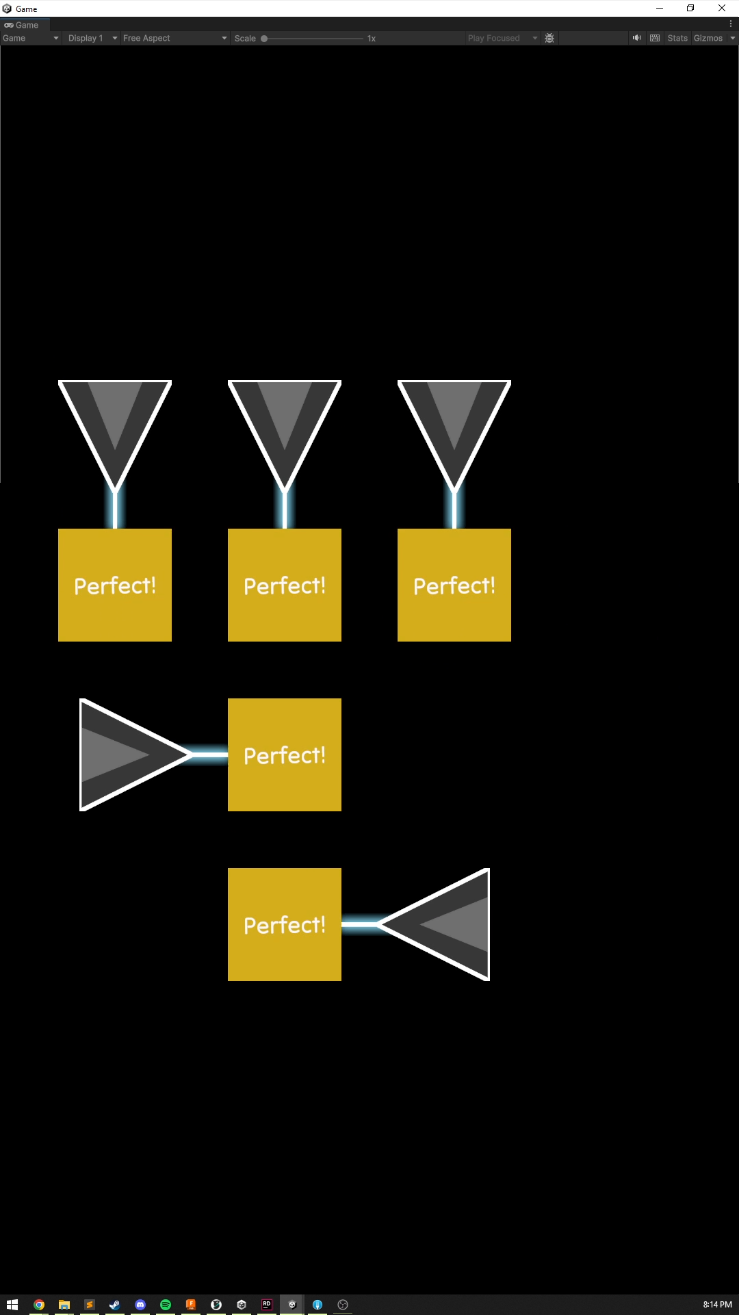

Each note is shown where it will appear and when the user needs to hit that button by a “marker.” I set up a couple of basic types of marker in Unity like one that rendered the marker as a sprite flipbook, and one that used Unity’s UI system and animated all the values using a Unity animator. I then recreated several of the original markers using these scripts and exported them into individual asset bundles using the Addressables package. These can then be loaded at runtime by the main game, and it allows users to create and share their own custom markers without having to recompile the game.
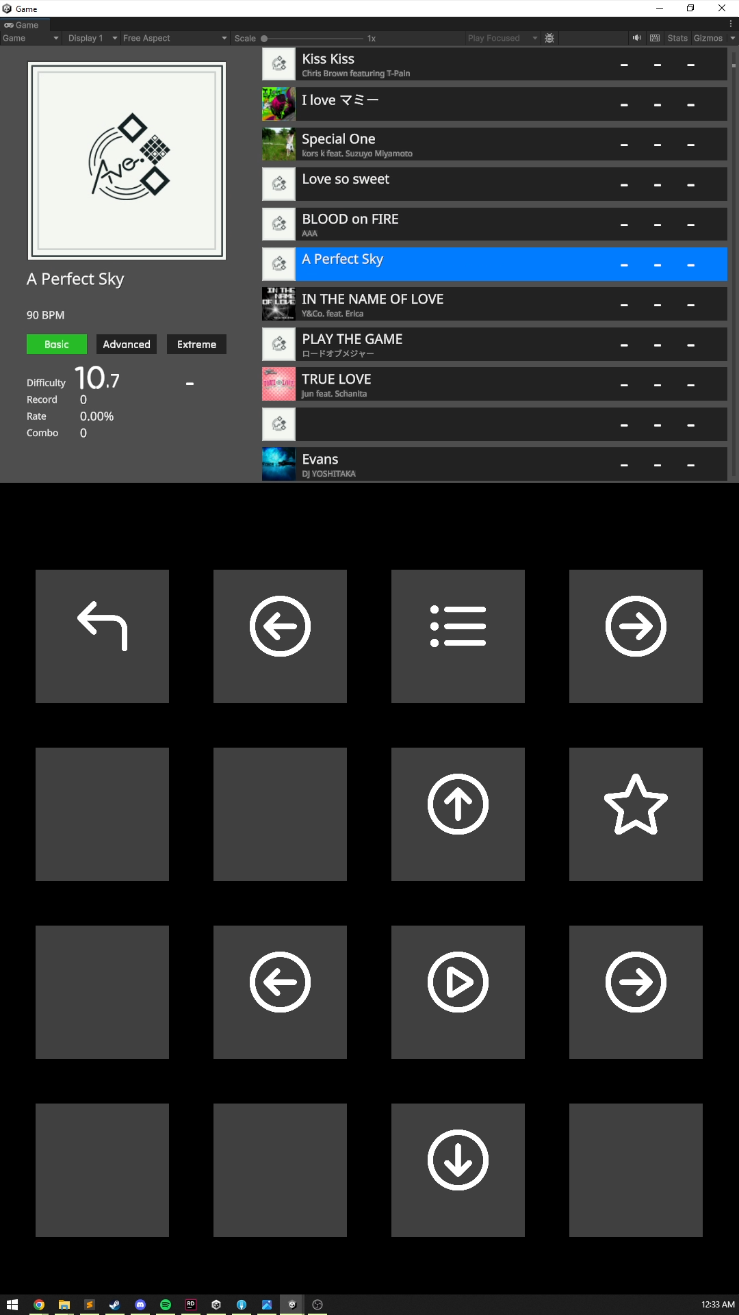
The UI started off as a clone of DJMAX Respect V’s UI with the buttons being a big remote control to scroll through songs, difficulties, and play them. I decided really quickly I didn’t like this at all though and opted to copy the grid based UI of the original game. I didn’t bother with the movement animations for the interface and just went with simple fades for changing pages and sections to speed things up.
In order for the UI and game to work with the controller, I would’ve had to position the buttons in software exactly where they would display on the monitor for the buttons to line up. I didn’t like this though, since I wanted to send a couple of these builds to friends later on who might not be using the same size monitors. If the monitor size was different, the controller buttons wouldn’t line up and it would be useless. In the end all the buttons and notes can have their position calibrated in the options menu so that their position, spacing, and scale can all be controlled by the user to make it work with whatever hardware they’re using.
I knew I wanted to leave this set up so I could just turn it on and play it at any point in time, so I didn’t want to dedicate a full PC or laptop to it. I tried to keep everything relatively lightweight and optimized so that it would run on basically anything. In the end it runs off of a ZimaBoard running Ubuntu which I’ve stuck to the back of the monitor.
The Hardware
For the hardware side of things for BeatBox, I knew as soon as I started the project that I didn’t want to play this on a touch screen and I wanted physical buttons like the arcade machine. This complicated things.
The way the arcade machine buttons work is to place a grid of clear acrylic buttons over a monitor, each button has capacitive dome switches under each corner of it that sends the input when pressed. The game renders on the monitor as usual, and the player sees through the buttons to make it look like the game is made up of 16 (+1 for the score screen) individual screens.
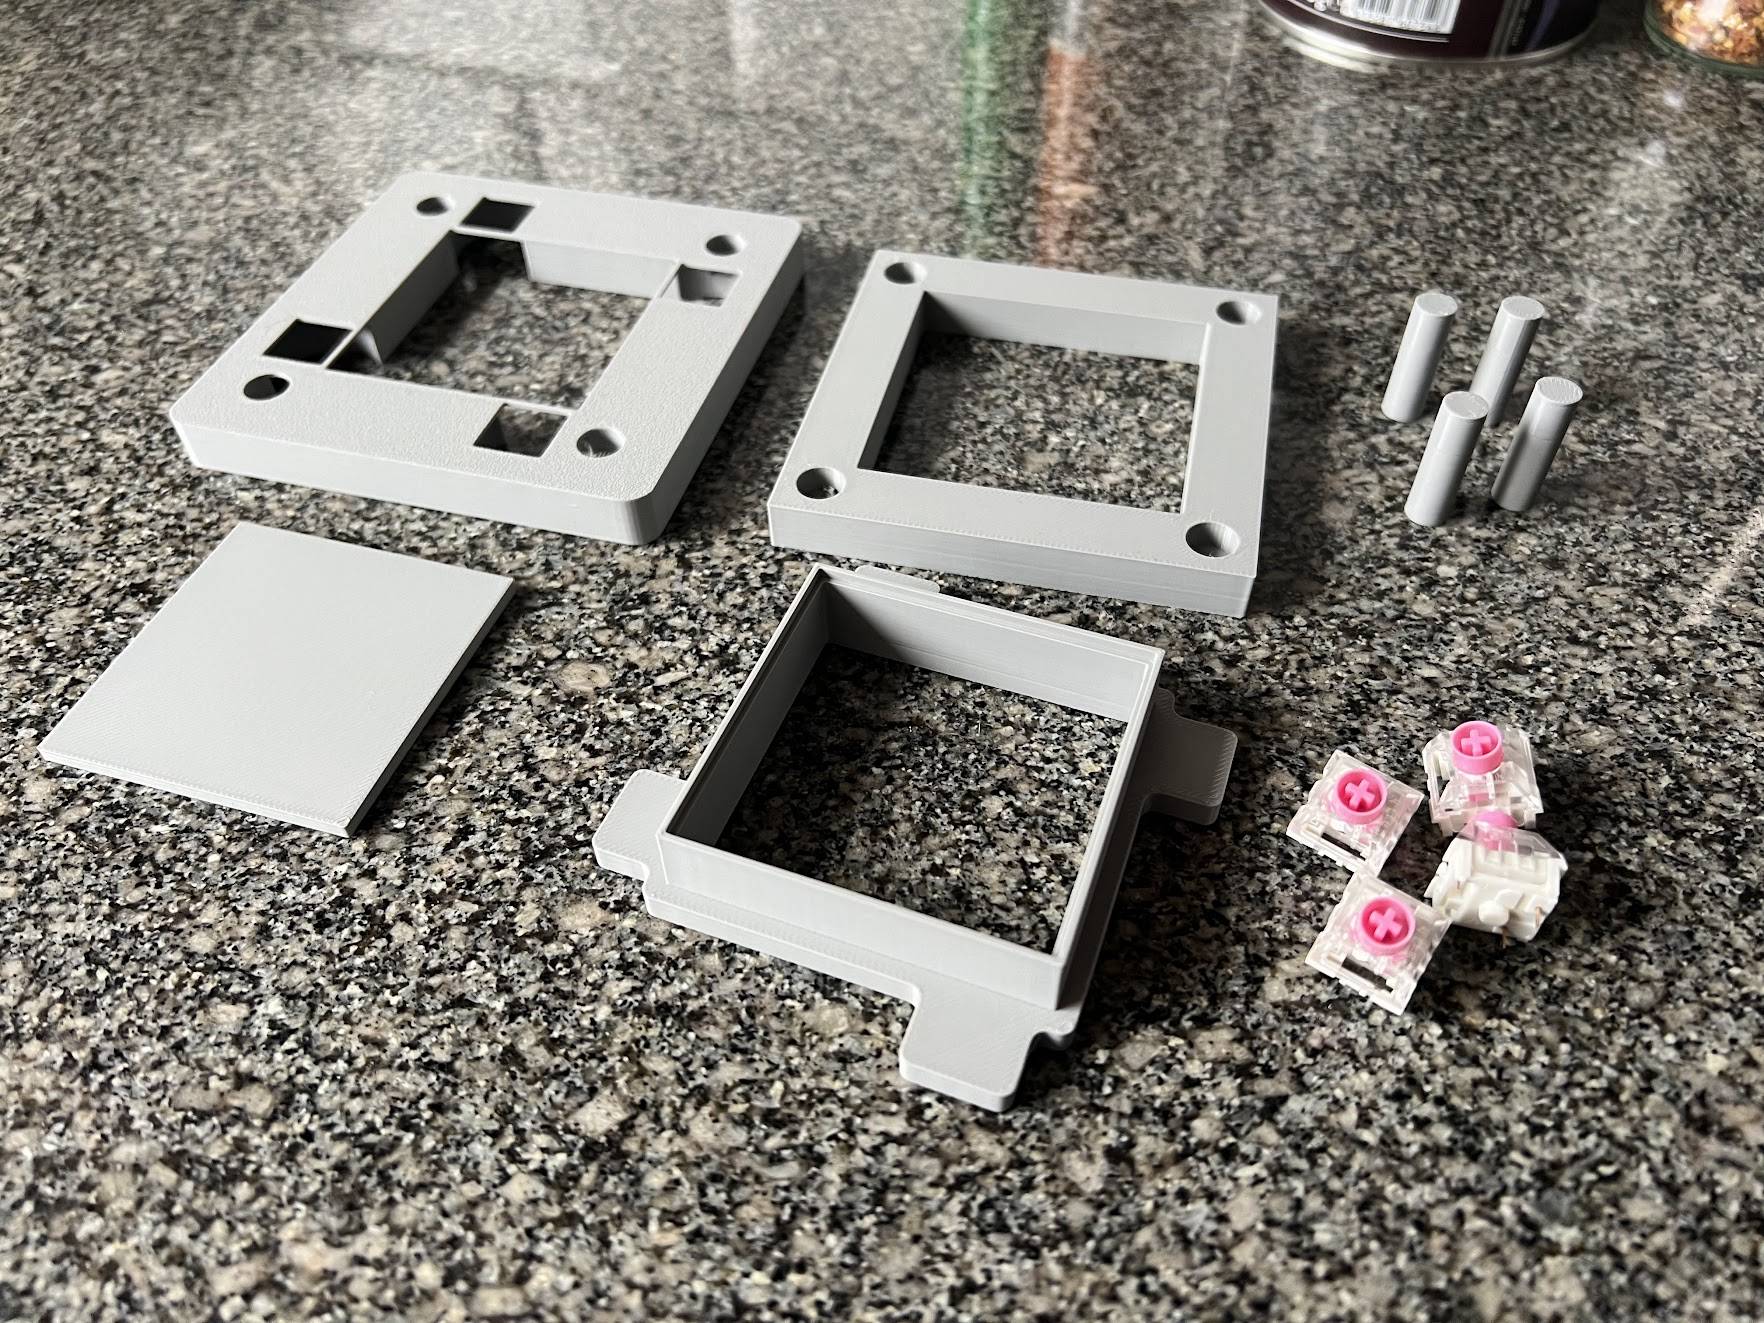
I went with the same basic approach, but since I wanted to be able to send the game around to friends to build their own I wanted all the hardware to be really easy to get off the shelf, and for it to last for ages once built. Instead of capacitive domes, I opted to use keyboard switches instead since they’re cheap and readily available everywhere. They made the spacing between controller buttons larger, but with some clever planning and tessellation of a basic shape I was able to get the spacing as small as possible and could still play on the controller nicely.
I designed a basic button in Fusion and 3D printed it to make sure the idea was sound before continuing work on the hardware, which the prototype button worked quite nicely.
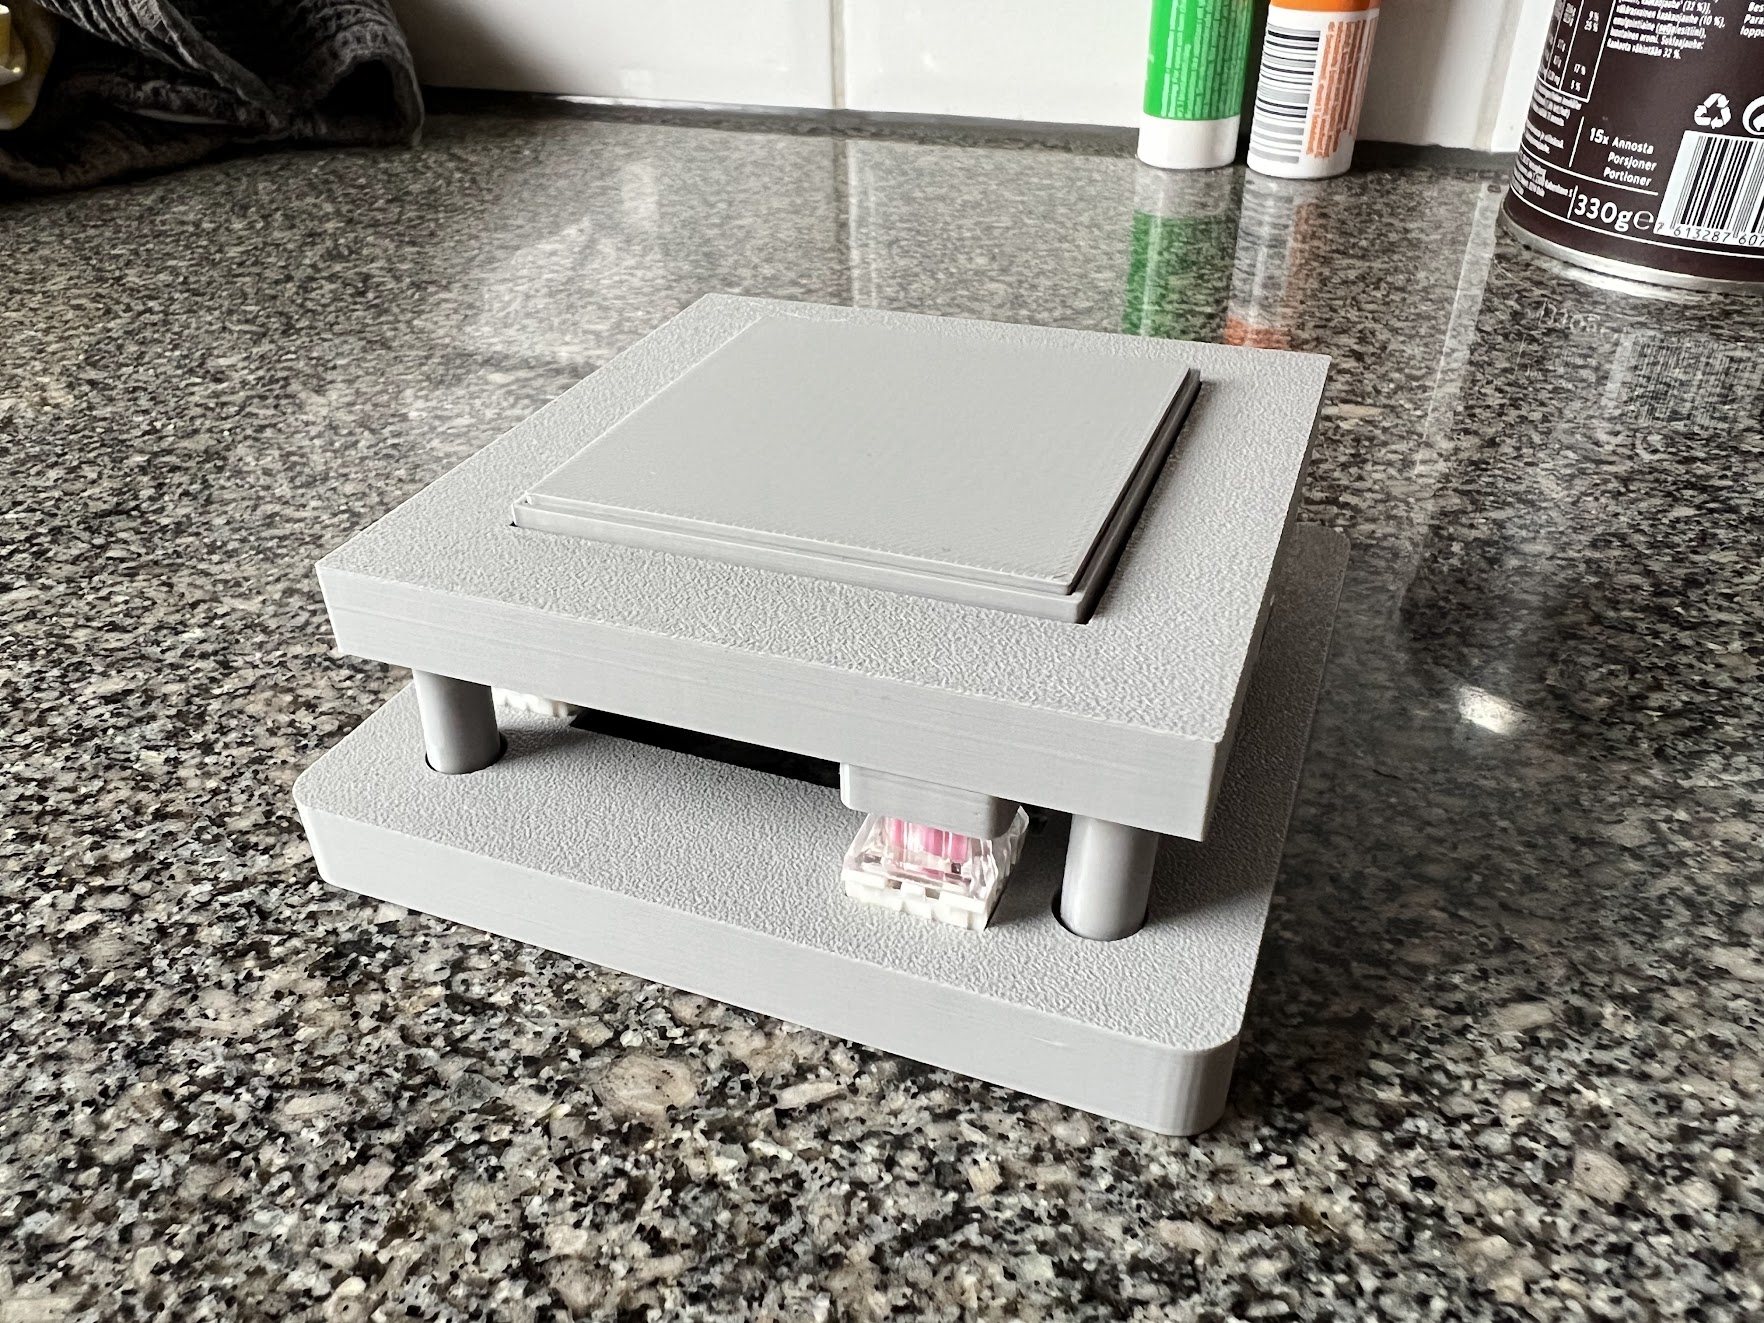
However the problem I had with making a controller is that wiring them up with actual wire is a nightmare. I’ve made custom controllers in the past, but I’m very bad at soldering so they’re always a mess, even with the large amounts of space I’ve had to work in the cases I’ve designed for them.
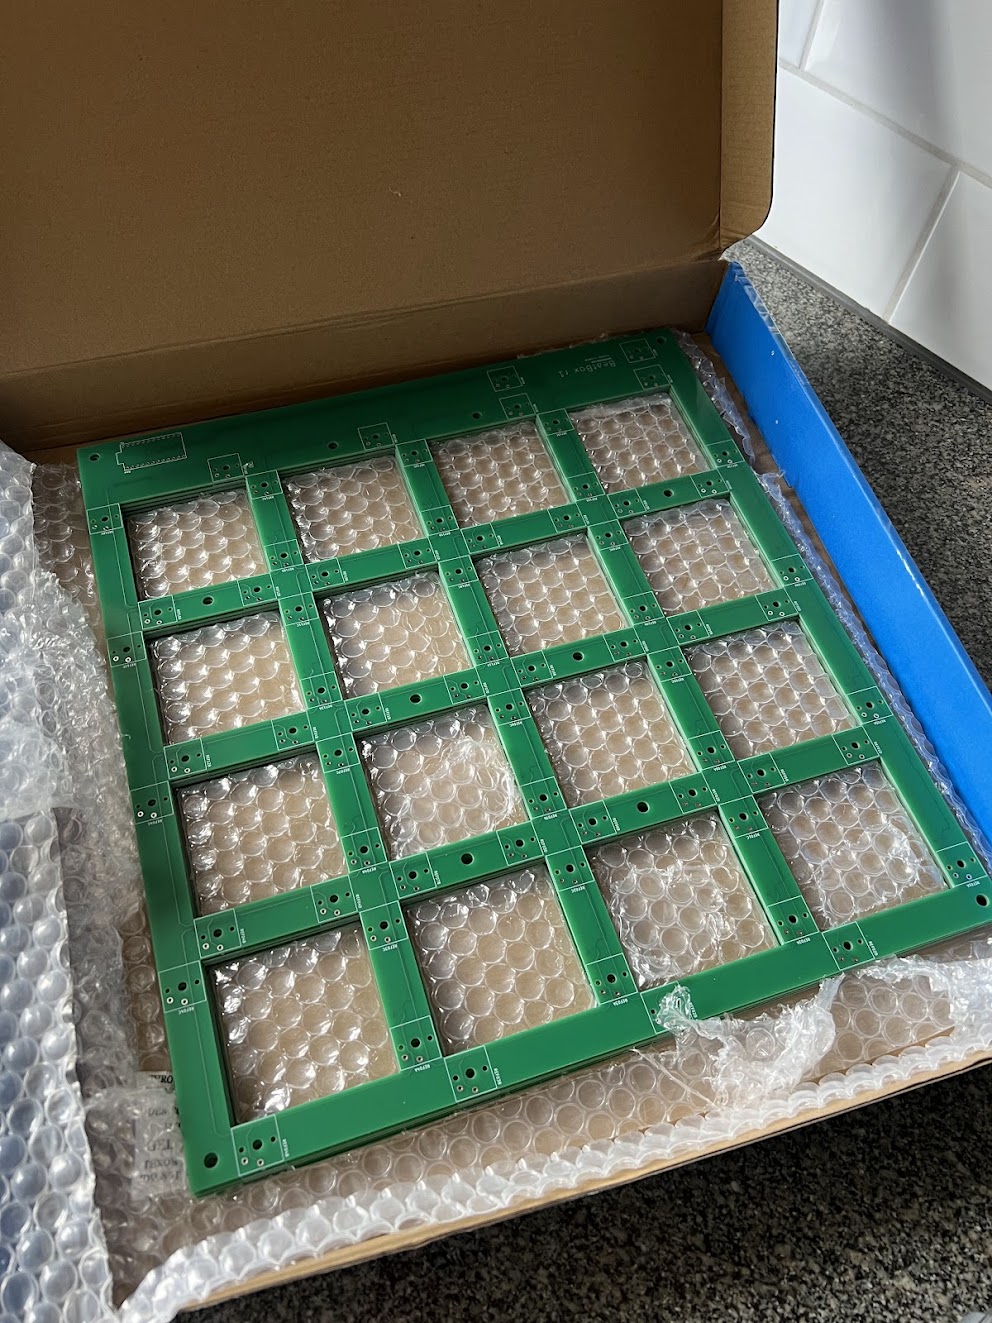
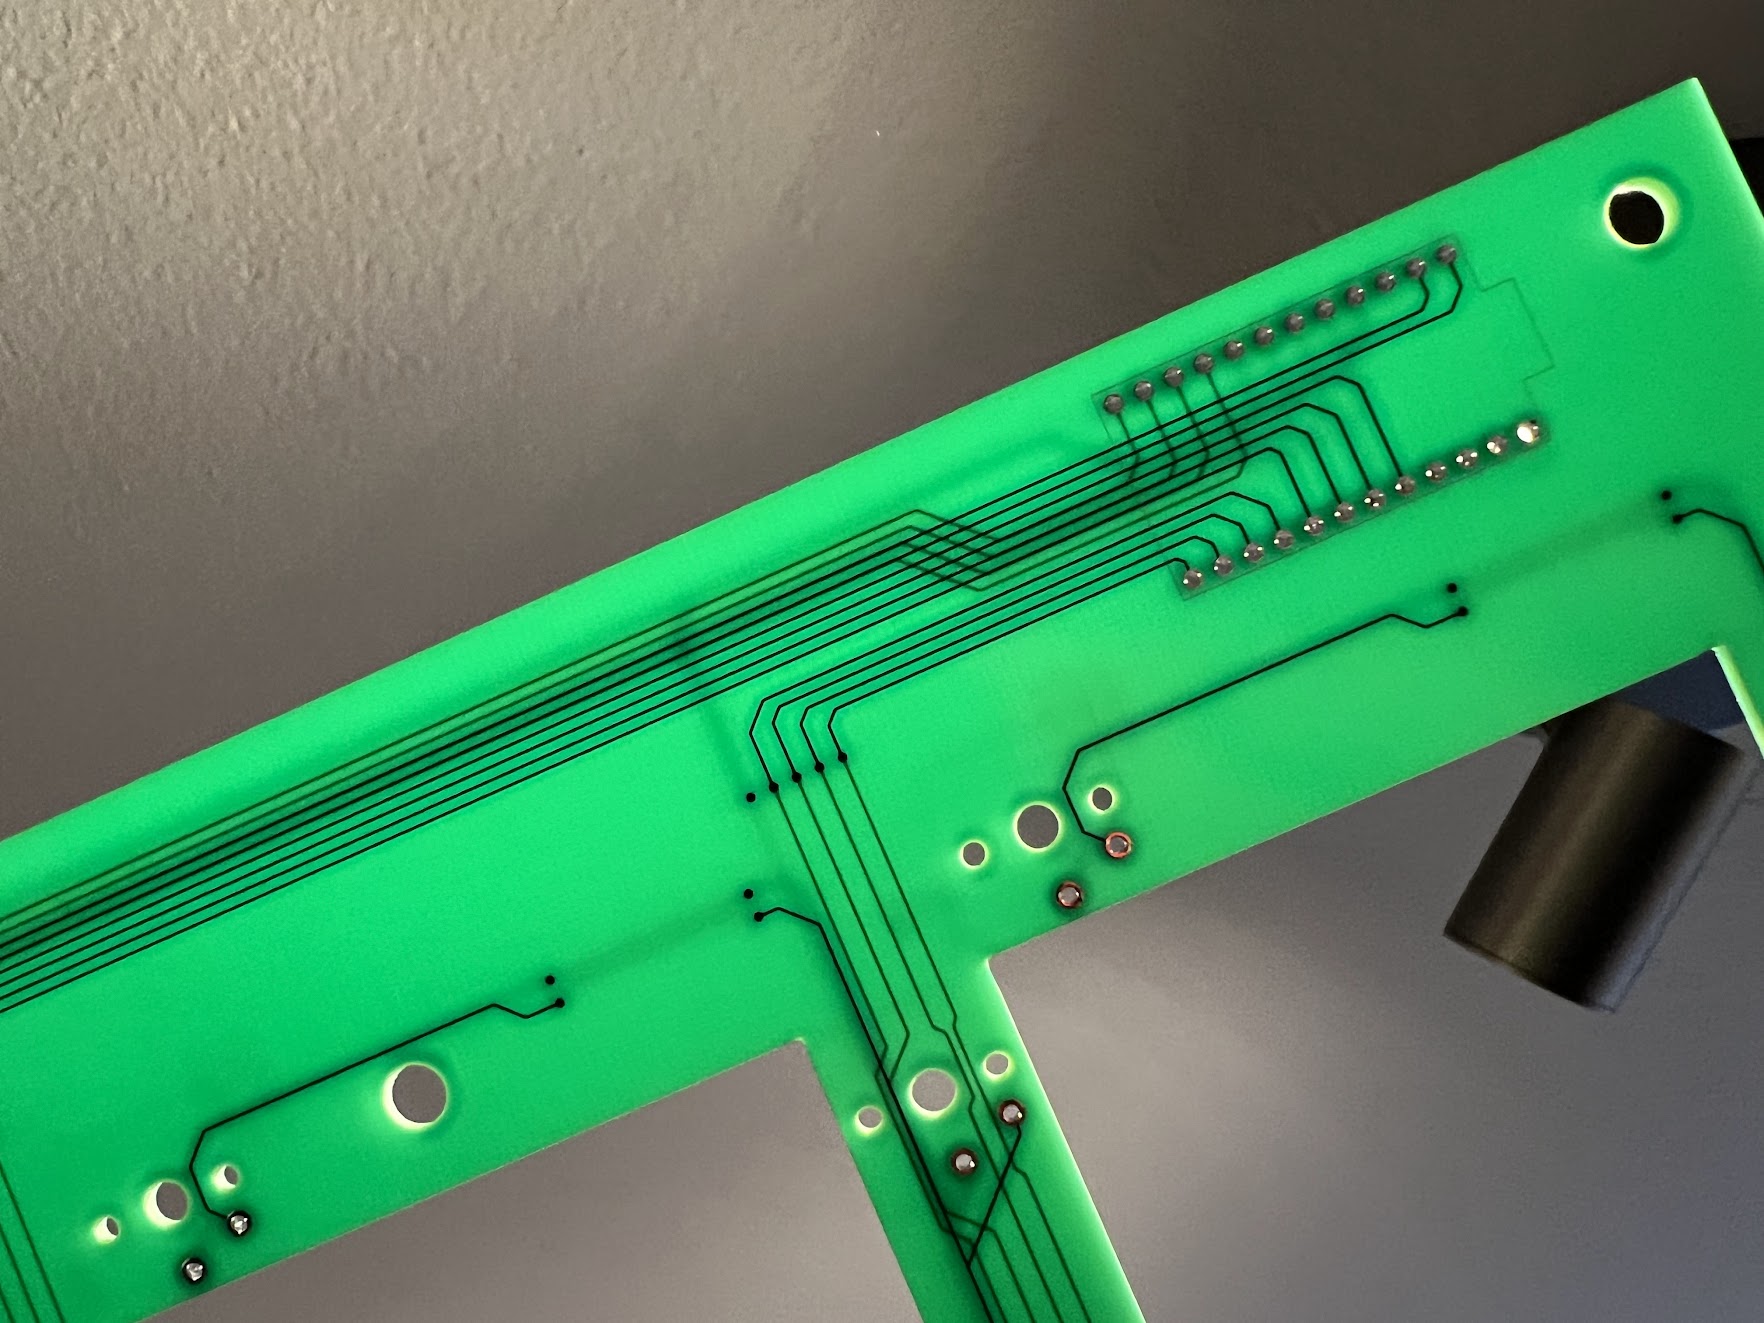
To help work around this, I decided on creating a custom PCB to make getting all the buttons hooked up properly to the Arduino ProMicro I was going to use as the brains of the controller. Designing this PCB took a pretty decent amount of time, but it was fun learning how to create circuit boards and wire everything up in CAD for it. I got some smaller PCBs for another game controller made up first to make sure that I’d been doing things correctly before I spent loads of money getting the ones for BeatBox made since they were incredibly expensive due to the physical size of them, and them being 4 layer PCBs.
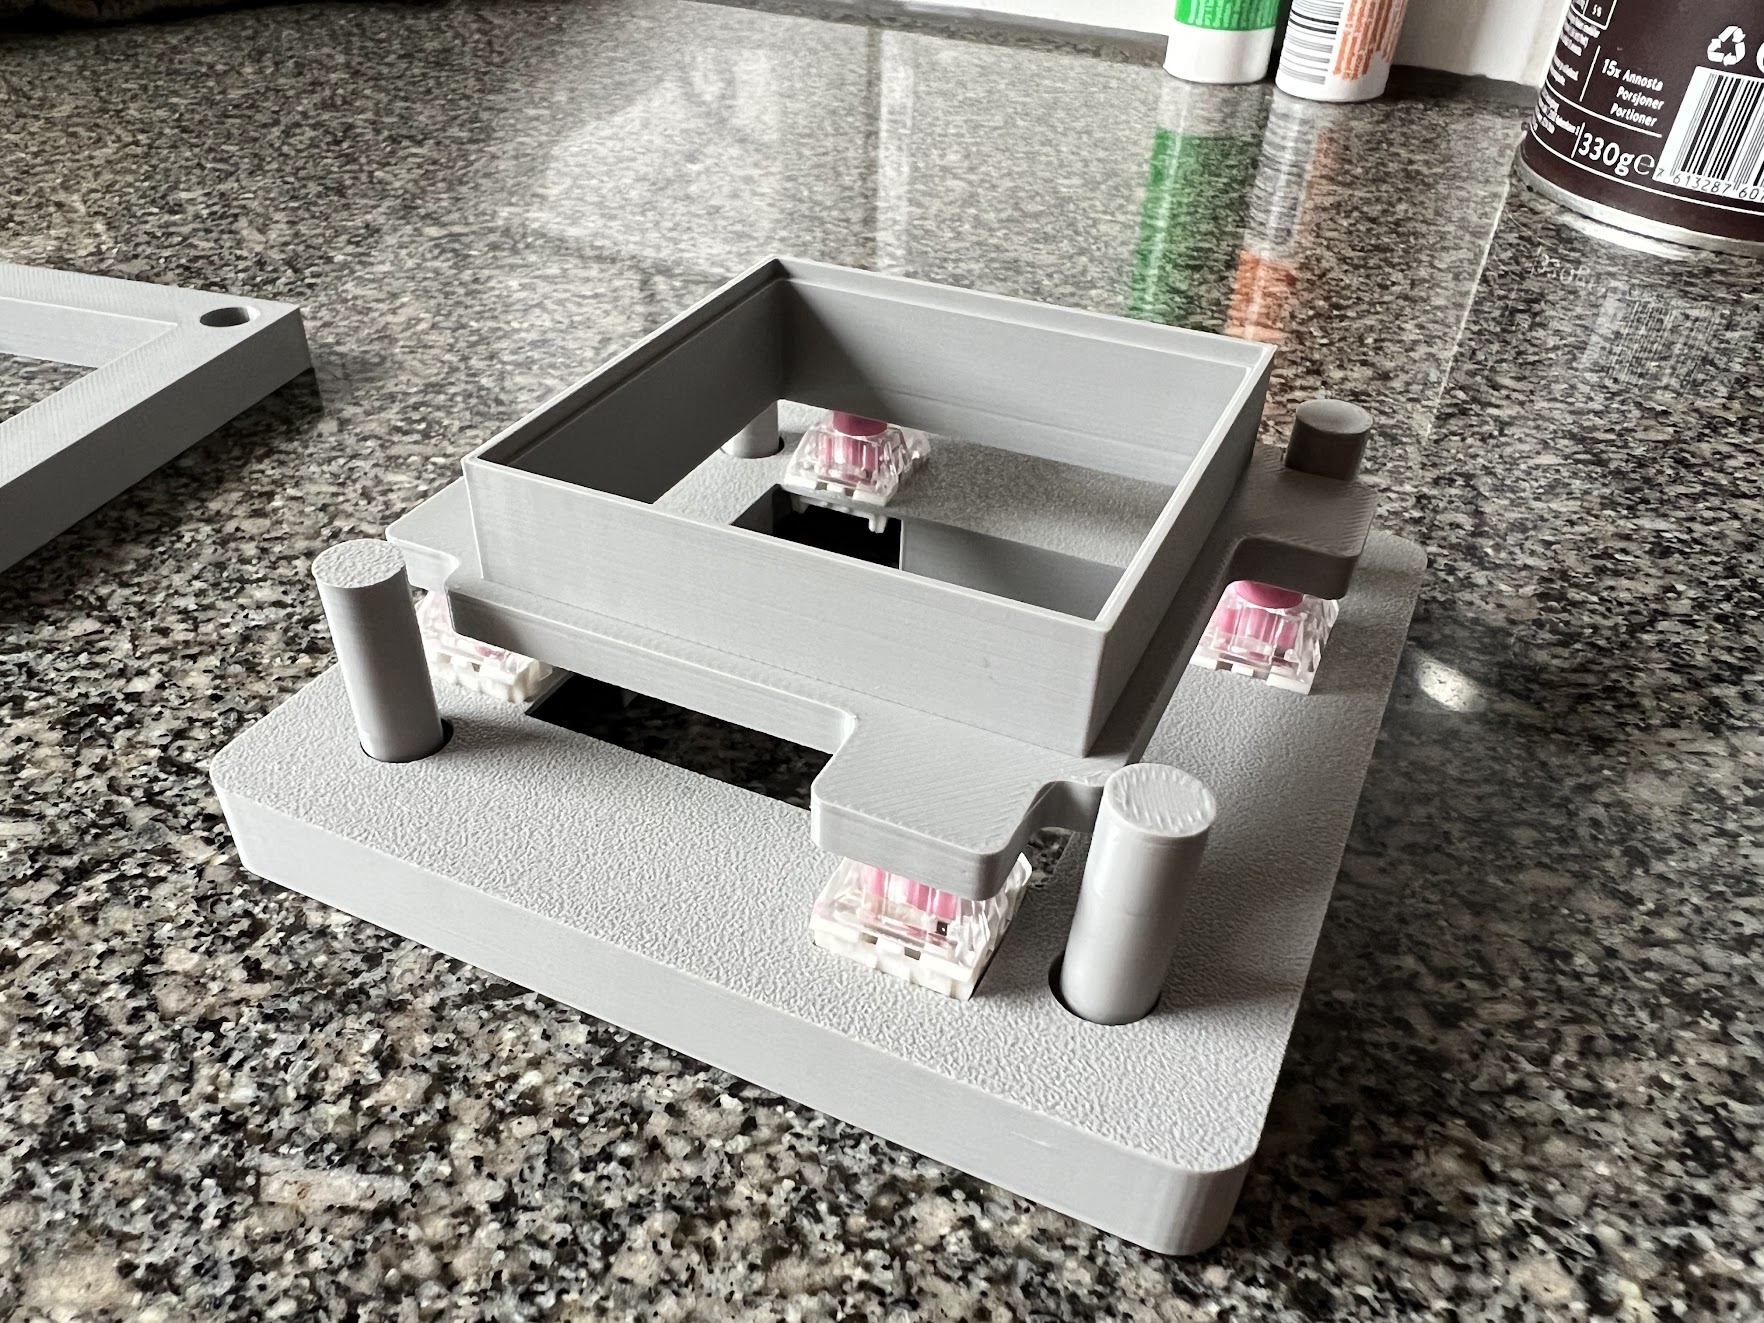
The circuit boards turned up a few weeks later, and I ran my checks on them to make sure everything was working as intended. Everything thankfully passed and I started 3D printing out some more test pieces to ensure that everything was the size it should be and I’d designed everything properly. A couple tweaks on some tolerances and a couple days later I’d printed everything up and assembled the full BeatBox controller.
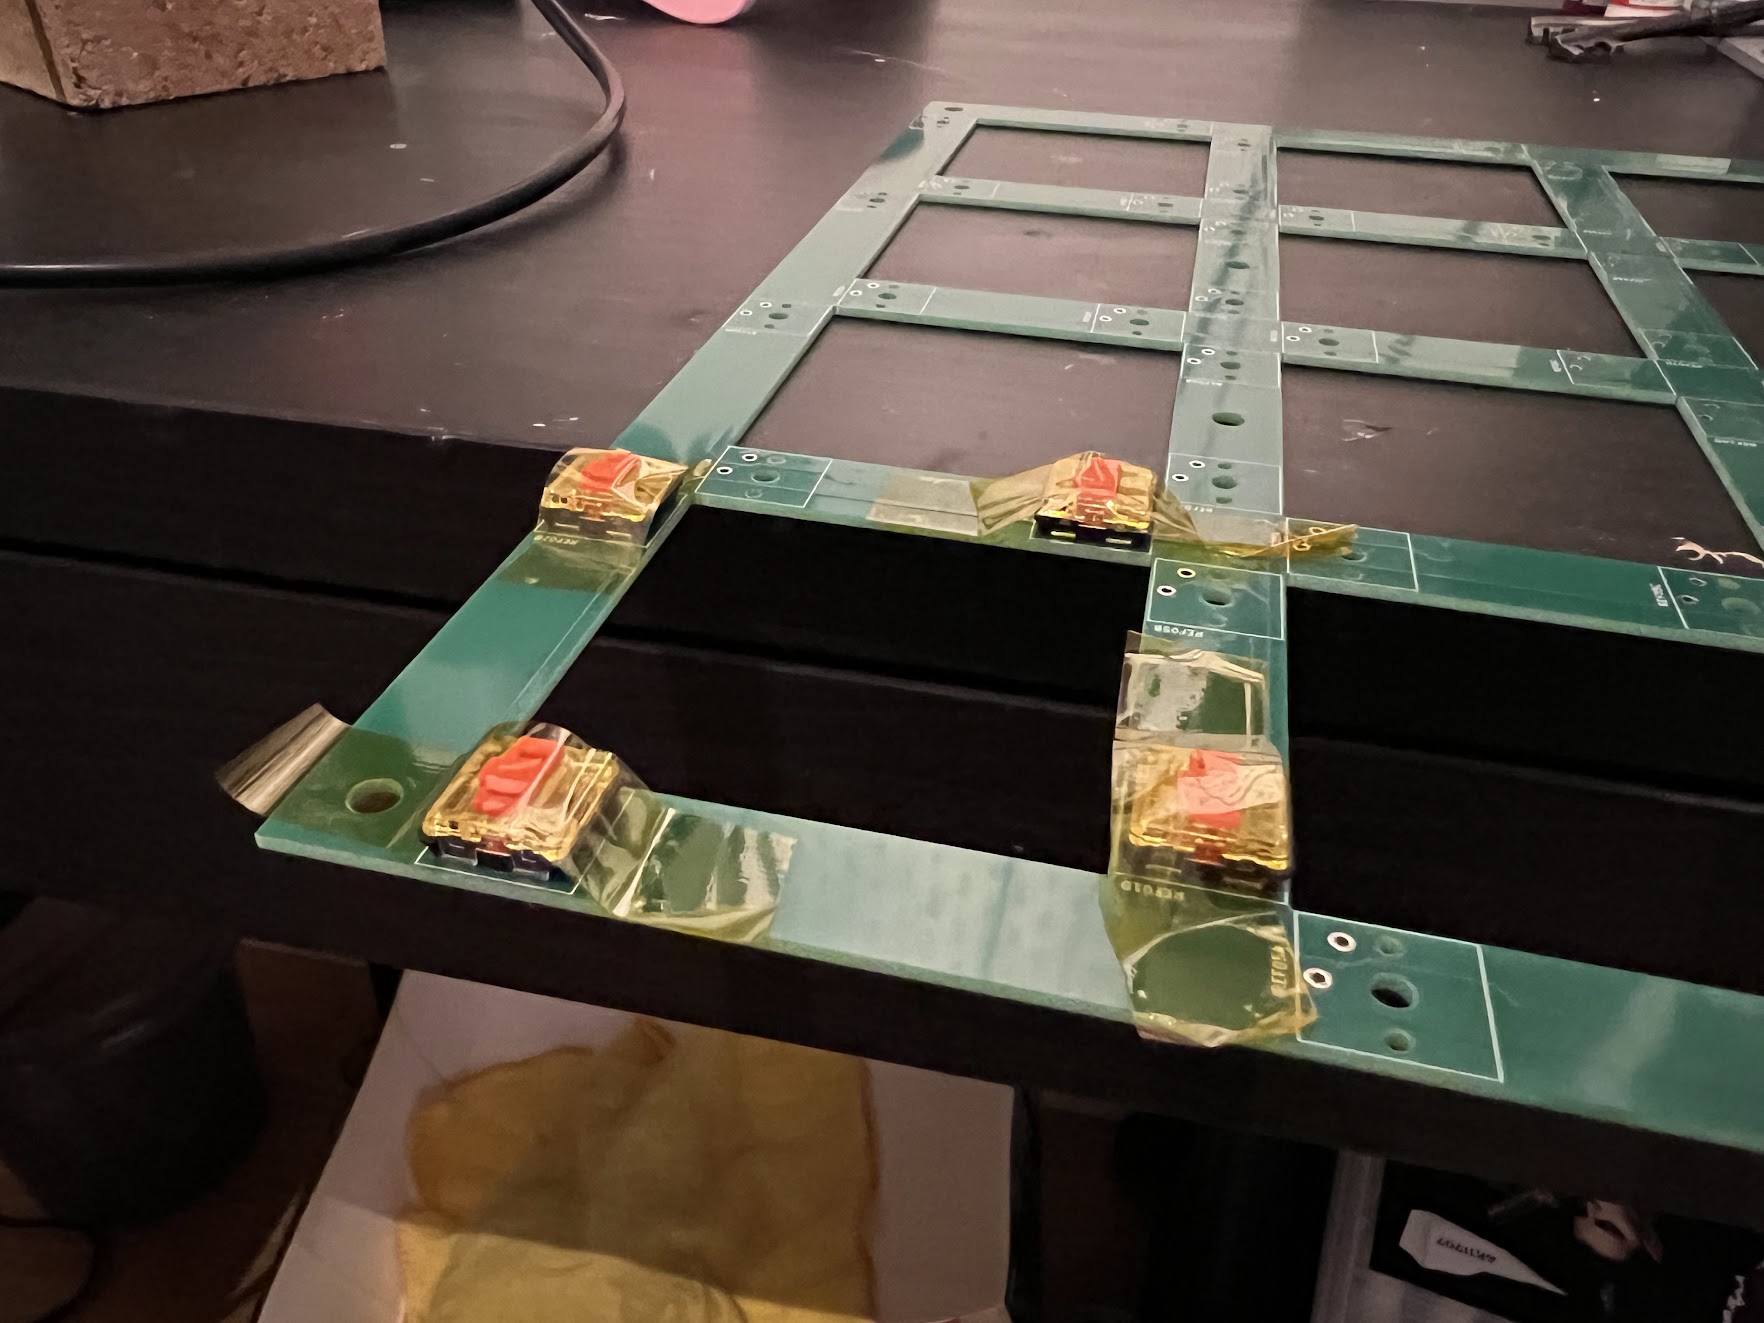
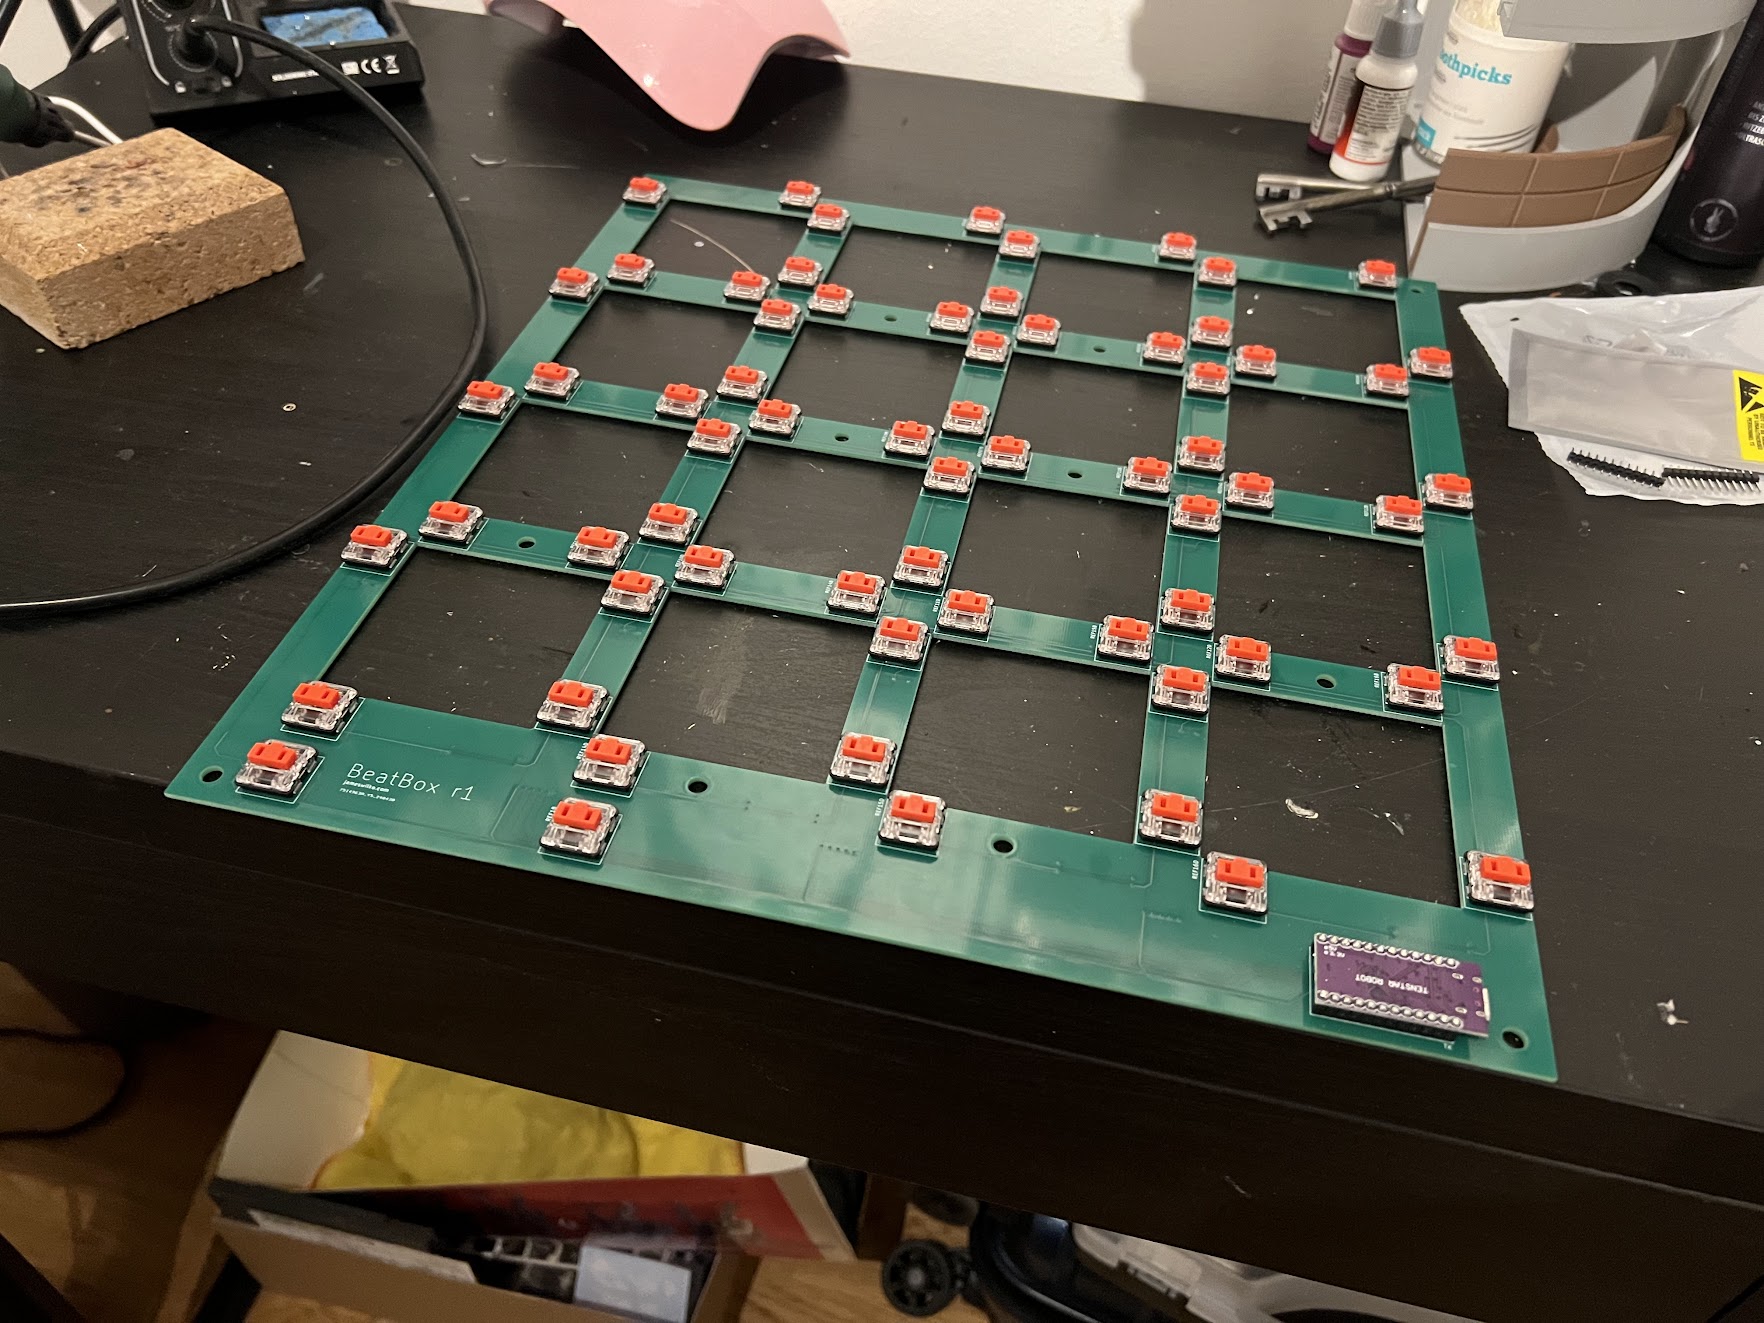
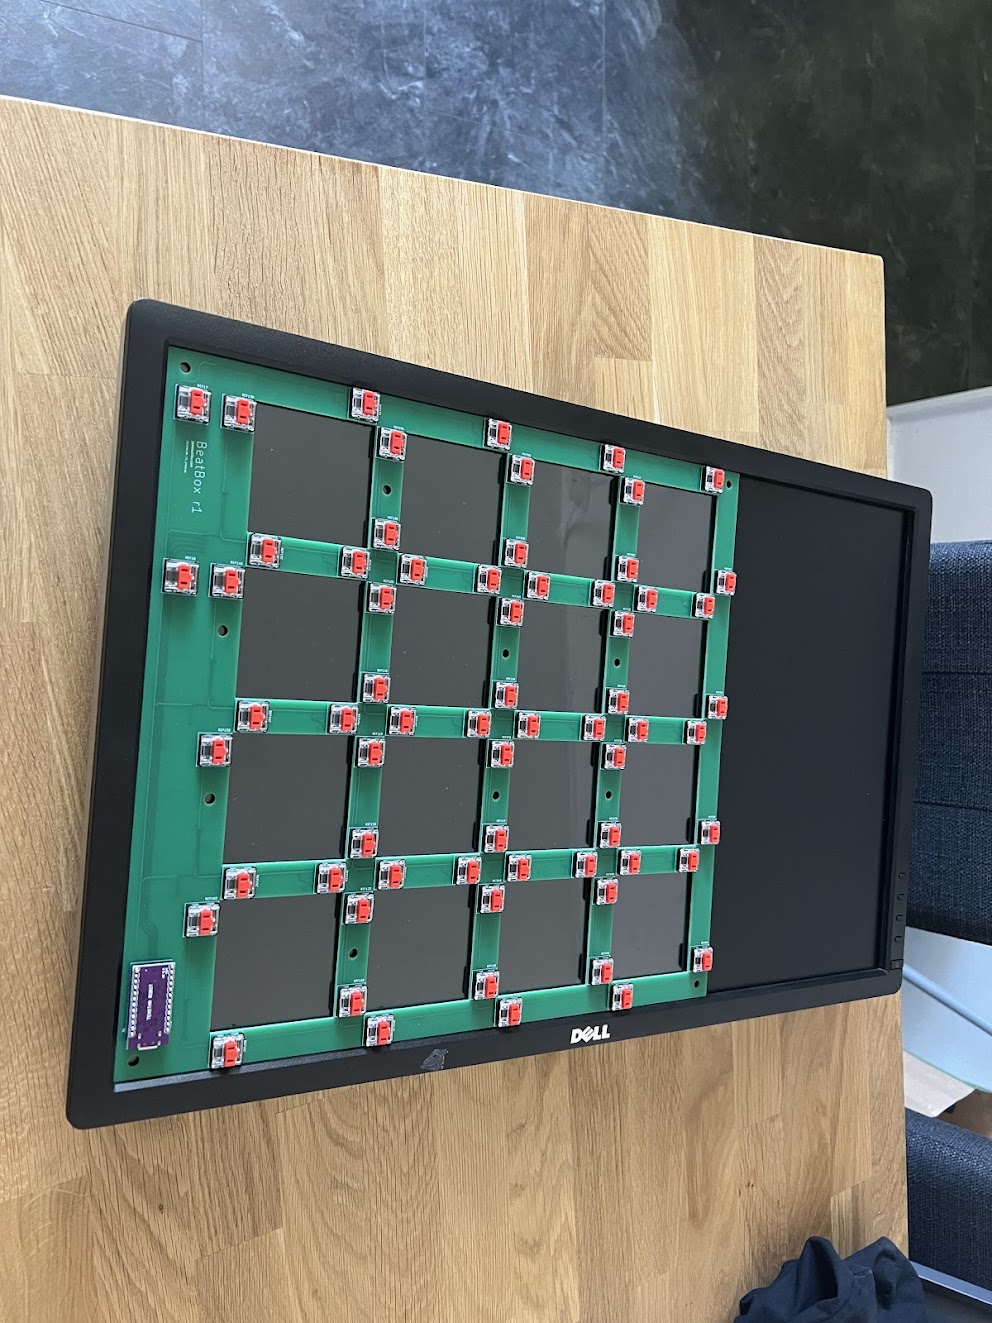
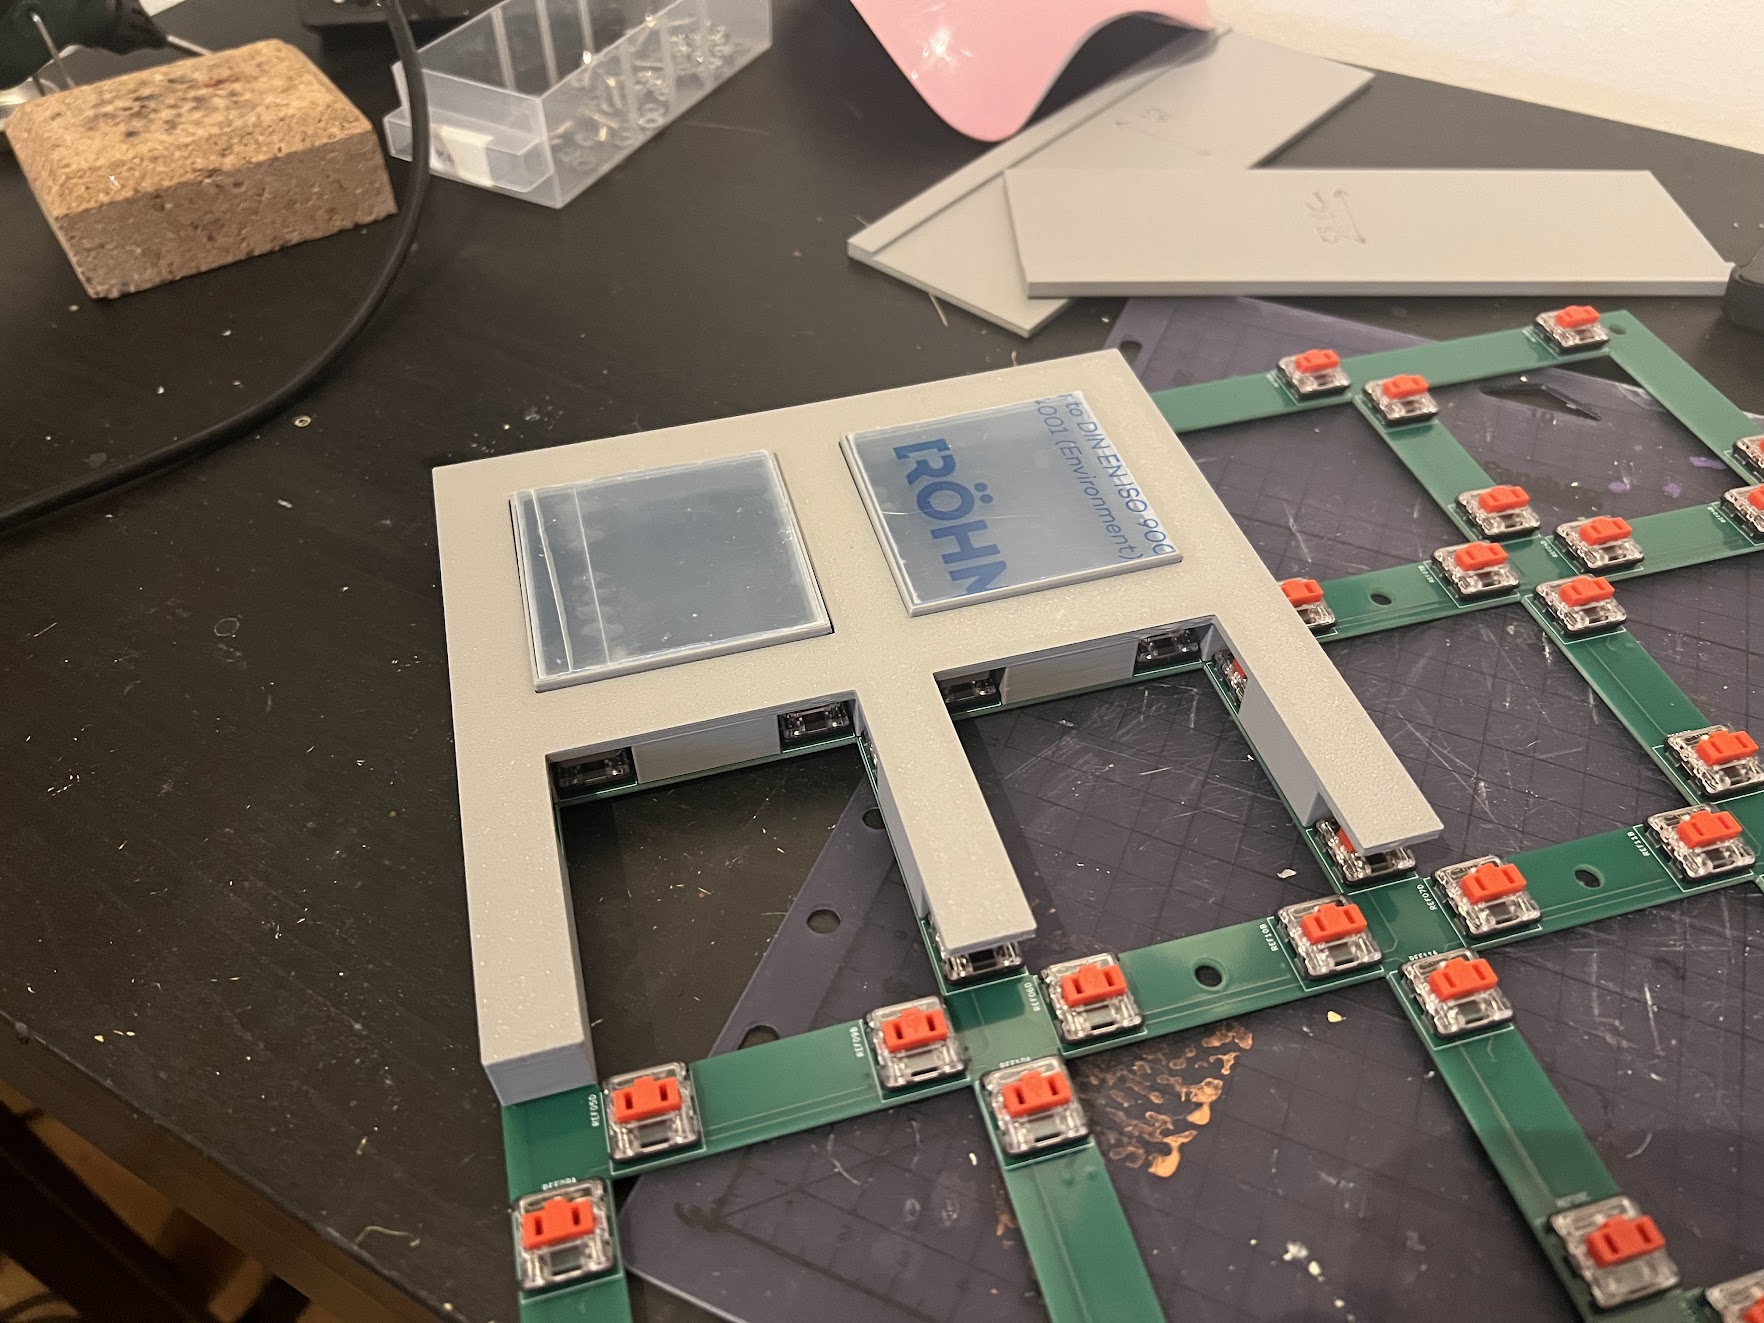
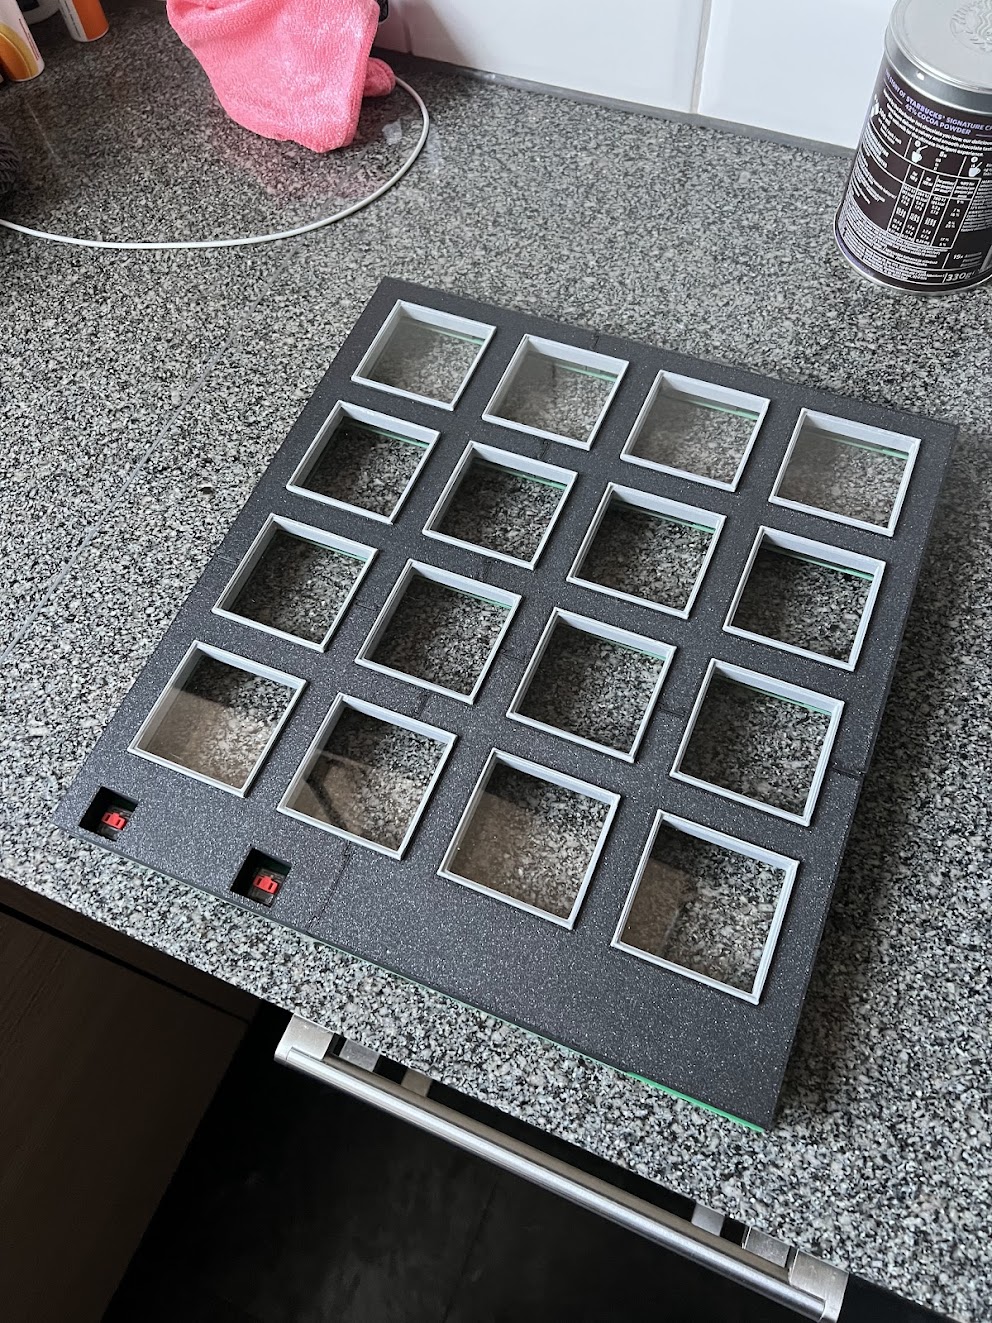
Each button on the controller uses 4 keyboard switches like the original ones so that if you only press on one corner then it will still register the press. The 4 switches are all wired together such that pressing any of them completes that buttons circuit, and all 4 switches can be wired to the same pin on the Arduino. The tops of the buttons are 3mm acrylic plate that I 3D printed a jig for and cut by hand. The microcontroller is an Arduino ProMicro that presents itself as a keyboard to the computer that’s running the game. The monitor for the game is an old 26″ Dell monitor that I had sitting in the basement, with an adjustable stand that was 3D printed for it to sit at the angle the game requires. The PC which runs it is a ZimaBoard 432 running Ubuntu, which is stuck to the back of the monitor.